Connect NotchBio MCP to Your AI Assistant
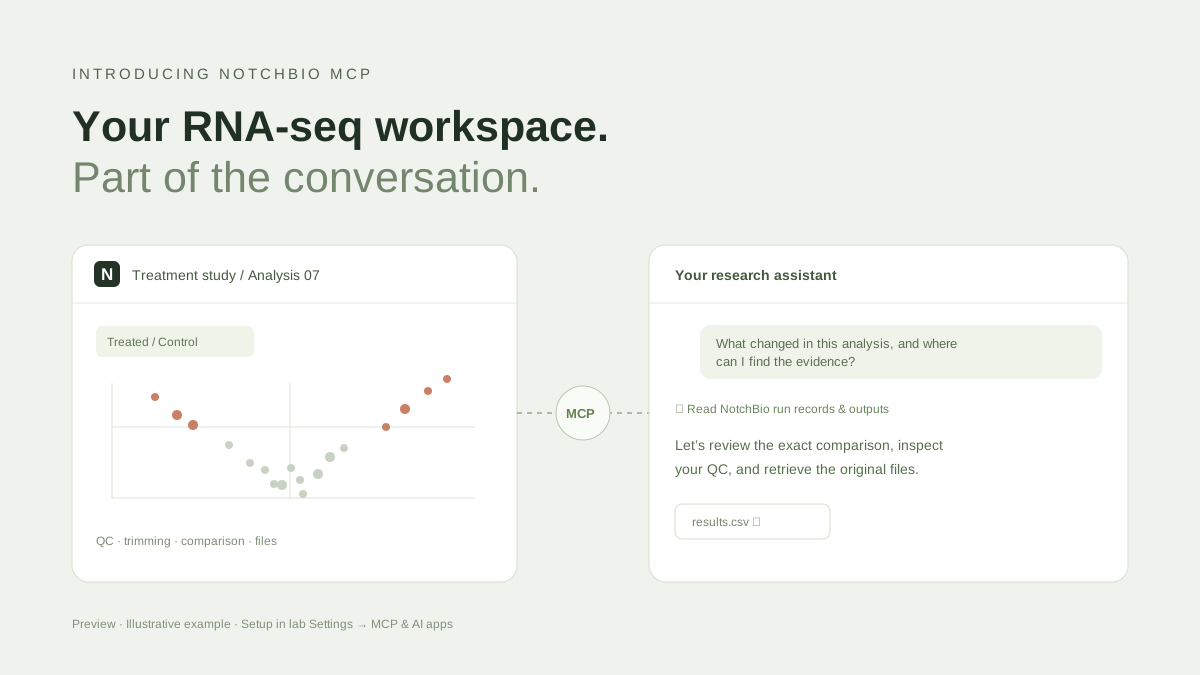
NotchBio MCP connects a compatible AI assistant to your accessible RNA-seq projects, analysis records, and outputs. Instead of re-uploading a screenshot and explaining the experiment again, you can ask about the analysis already in your workspace.
The first release is a read-only preview. Check Settings → MCP & AI apps for availability. A backend rebuild alone does not enable the remote service or complete your AI app’s authorization.
1. Get your NotchBio connection details
Sign in to the lab app, open Settings, and choose MCP & AI apps. When setup is enabled, this section displays your server URL and a copy button. Use that URL exactly, including /mcp.
If setup is not enabled, there is no URL to paste yet. You can read the instructions and prepare your client while the preview rollout is completed. Do not substitute the lab website address or invent an MCP hostname.
2. Add the server in your AI app
Choose the instructions for the client you actually use. Developer mode, workspace permission, or administrator approval may be required depending on the product.
| Client | Where to start |
|---|---|
| ChatGPT | On the web, open Plugins and add a custom MCP server. Configure OAuth, install the plugin, and select it in a new chat. |
| Claude | Open Customize → Connectors and add a custom connector. Enable it for the conversation after sign-in. |
| Cursor | Add a remote server in the MCP customization settings or .cursor/mcp.json. |
| VS Code | Run MCP: Add Server from the Command Palette, then choose HTTP. |
| Gemini CLI | Configure the server’s httpUrl under mcpServers and use /mcp auth notchbio for browser authorization. |
Paste the URL from NotchBio and follow the authorization flow. These clients support custom remote MCP connections, but NotchBio OAuth compatibility must be verified for each client. Gemini CLI support does not imply custom-server support in the consumer Gemini chat app.
See the full connection guide for client-specific instructions and links to the current official documentation.
3. Start with the guide and a specific analysis
Your first prompt should establish the connection’s capabilities and the project you want to review:
Read the NotchBio agent guide, list my projects, and ask which project and analysis I want to review. Check your available tools before suggesting actions.
Then ask a focused question:
- “Review the recorded QC and trimming for this analysis. Keep read ends, read pairs, and bases distinct.”
- “Which group is the denominator in this comparison? Explain the direction of positive log2 fold change.”
- “Find the complete results CSV and a supported figure preview for this run.”
- “Draft methods from the saved settings, and list the details I still need to verify.”
What the preview can and cannot do
The preview can inspect accessible projects and runs, read recorded settings and summaries, assess public archive metadata, retrieve files, render supported figures, and read the NotchBio agent handbook. It can help you understand defaults and prepare questions about your experiment.
Starting or retrying an analysis, applying parameter changes, importing archive files, and uploading local files through MCP are not available in this preview. Use the lab workspace for these actions. An accession assessment is not a completed import.
Image display and file downloads depend on the AI client. Use complete downloads for the original data; a table snippet or image preview is not the entire dataset. Review methods drafts against the source records before using them in a paper.
Discuss the results and visualize them your way
Ask ChatGPT or another connected assistant to explain the results, compare the recorded evidence, and identify questions worth following up. The MCP can return text, supported images, and links to the full files. Actual image display and file handling still depend on the client.
For another visual perspective, retrieve the complete result table and use your AI app’s data-analysis tools to make a custom plot. Keep the original comparison direction, count units, missing values, and thresholds explicit. The MCP’s own renderer currently provides volcano, MA, PCA, and heatmap outputs; it does not execute arbitrary plotting code.
Running new RNA-seq or statistical tests through MCP is planned, not available in this preview. An assistant can help formulate a test or review an existing DESeq2 result, but it cannot claim to launch or rerun an analysis using tools that are not exposed. An AI app may separately provide a coding environment for further exploration; that is distinct from running a new NotchBio analysis.
This distinction matters for research writing: use the conversation to assemble evidence, make sense of a result, and prepare methods or figure notes. Verify every reported analysis against the saved records and the tools that actually ran.
If a connection fails, first check that setup is enabled, the copied URL is correct, the AI client has permission, and authorization finished. Never paste credentials into chat. The setup guide’s troubleshooting section covers the common cases.
Explore NotchBio MCP or open connection settings to get started.
Further reading
Read another related post
How to Build a DESeq2 Count Matrix in Python
Python tutorial: parse featureCounts output, aggregate Salmon quant.sf, build a tx2gene map, and save a DESeq2-ready integer count matrix with pandas.
TutorialSTAR RNA-Seq Alignment Tutorial: FASTQ to Gene Counts
Complete STAR tutorial: download genome and GTF, build an index with the right sjdbOverhang, run paired-end alignment, and load GeneCounts into R for DESeq2.
TutorialHow to Build a Decoy-Aware Salmon Index for RNA-Seq
Step-by-step Salmon tutorial: download GENCODE references, build a decoy-aware index, run salmon quant with gcBias and seqBias, and verify mapping rates.